
Additive manufacturing offers its users one of the most convenient and flexible ways of turning 3D models into real-life objects. Turning digital models into real-life objects is an exciting idea for all makers and professionals alike, but what about the reverse? Can you turn a real-life object into a digital 3D model? And if so, what is the most effective way of doing it?
Turning Objects into 3D Printing Models
Let’s say you have an object at hand that you want to 3D print for a couple of different reasons. Maybe you want another one just like it, or maybe you want to know how the part might function if it was made using a different material. But you don’t have the required .stl or .gcode file to 3D print it with your device.
Luckily there are a couple of tried and true methods of doing just that. These methods differ from each other in a number of aspects. Some of them require a bigger investment of money, some are not as precise as others, and some need you to have a certain level of proficiency in design software.
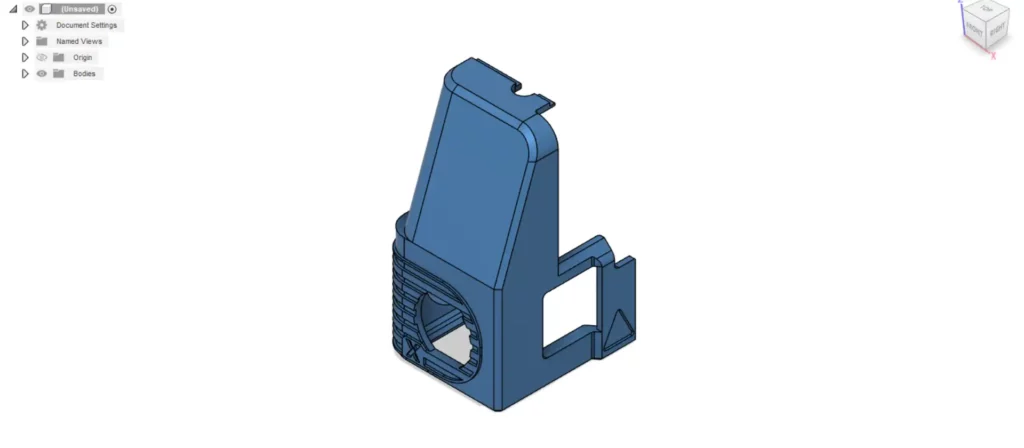
Modeling on CAD Software
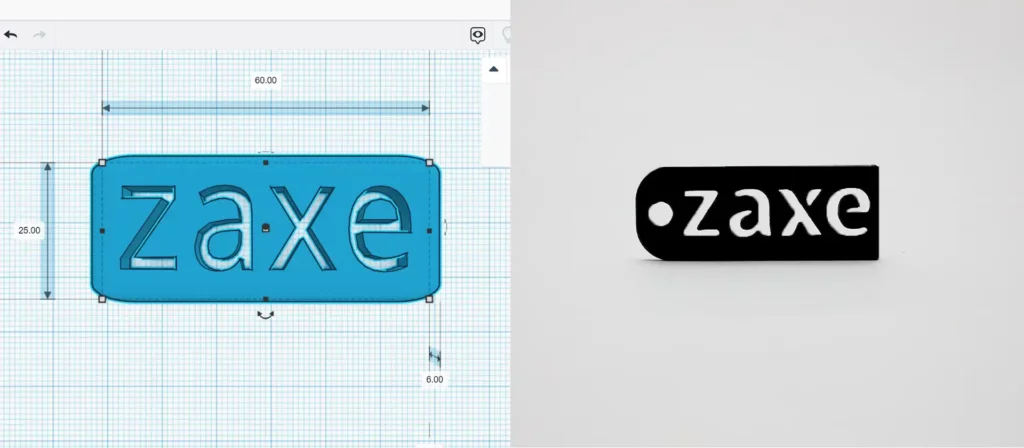
Probably the most reliable way of turning an object into a digital file is by making a design of the model on CAD software. Either by acquiring the services of a professional or having the necessary skills to do it yourself, you can turn any object into a digital model.
This method comes with the advantage of being able to customize and change the model to your liking. If your design is off the mark a bit and you need to change the printed part, you can easily apply some post-processing to compensate.
Need help with processing? Read more: A Guide to Post-Processing for 3D Printing
The downside of this method is that it can take a long time to perfectly model a real-life object into a 3D model. Acquiring the services of a designer to model the object would also make this method costly.
But if you have the necessary skills in CAD software, plus time or have enough cash to spend on a designer to do the work, this is a perfectly effective way of turning an object into a 3D printing file.
No idea which CAD software you should use for the job, this might help: Best CAD Software for 3D Printing That Designers Should Try
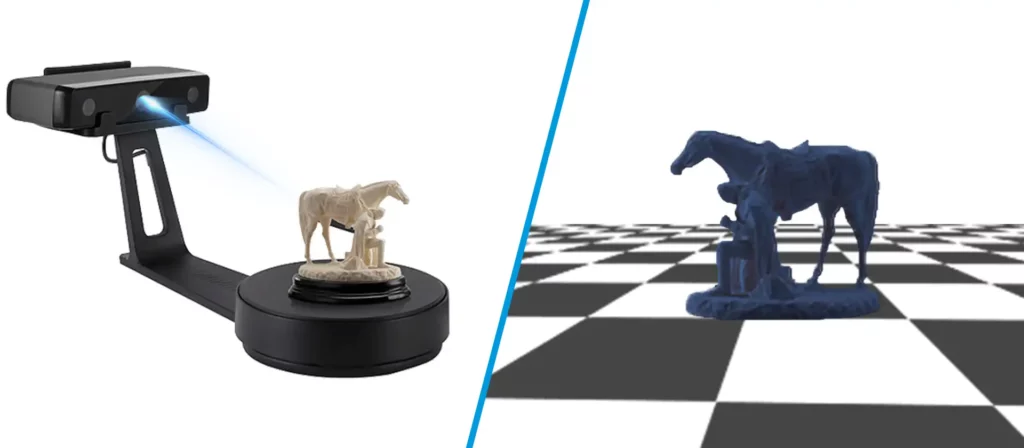
Using a 3D Scanner
Another way of turning objects into 3D models is using a 3D scanner. With a 3D scanner, you will get the job done much quicker and the precision of the end model won’t depend on the CAD skills of the designer doing the modeling.
Quality and the price of 3D scanners on the market vary significantly with some models costing as low as $ 900 while some 3D scanners have a price tag of as high as $ 40,000. The initial investment that these devices require might be offputting for some users, but for a business that frequently needs to model real-life objects, a 3D scanner can save a lot of time and money in the long run.
The process is relatively simple. You just download the software that was made by the manufacturer of the 3D scanner. Then you will plug in your 3D scanner, scan the object you want the model of thoroughly and you are pretty much good to go.
Depending on the precision of your 3D scanner, you might have to do a little bit of trimming up, but this is one of the fastest methods of turning an object into a digital 3D printing mode.

3D Scanning with Photogrammetry
This method can be considered a mix of the last two entries. With the help of photogrammetry, you can do what a 3D scanner does with a smartphone or a camera. Admittedly this method will be the most complicated and possibly the most laborsome out of the three, but it requires very little knowledge of CAD software and is no doubt the cheapest one, assuming you have a smartphone.
Firstly, you will have to take pictures of the object you need the 3D model of. More pictures mean more accuracy, so don’t be afraid to overdo it and try to take at least 25 pictures from various angles.
The photos you take need to be in JPG format, so if the photos you have taken are in RAW format, you can use a converter of your choice, like Permute, to convert the files. Then you will have to import these photos to Meshroom and start the process.
Meshroom will give you a pretty rough model. But you can work on the model and trim it a bit to make it better using software like Meshmixer or another CAD software of your liking. And that’s pretty much it. You now have a 3D model of whatever you wanted and all you needed was a camera and a computer.
Conclusion
Like many other things in 3D printing, turning objects into digital files is something you can do in a number of different ways. Depending on the resources, time, and skills you have, the process will vary considerably. But it is possible to achieve impressive results with each of these methods.
We suggest actually investing in a good 3D scanner if you find yourself needing 3D models of everyday items. But if it’s only a one-time thing, the other methods will do just fine for the time being.