
After the printing process is over there are still a variety of things you can do to improve the visual appeal and function of your print. This period where you make changes to the print will be called the post-processing phase.
With an extensive post-processing stage, you can achieve extremely smooth surfaces but you will need to know what you are doing. Here is a guide to making your prints better after they come out of your 3D printer.
Removing the Supports
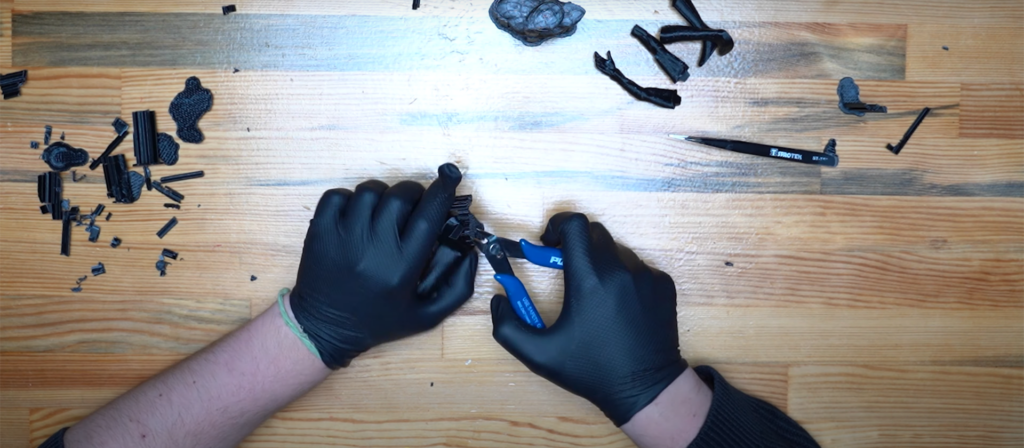
If your print has supports, removing them properly will be included in the post-processing phase. Removing supports that are made of HIPS and PVA will be very easy as these are soluble materials that can be removed with Limonene and water respectively.
Removing supports that are made from ABS and PLA can be harder. The most important thing is to not damage the print. That’s why using excessive force will be a bad idea. Remove the supports that are in easily reachable places with your hands. For the places that are hard to reach, you can use pliers or flush-cutters.
For visual help on how to remove supports, you can watch this video we have made.
Gluing Parts Together
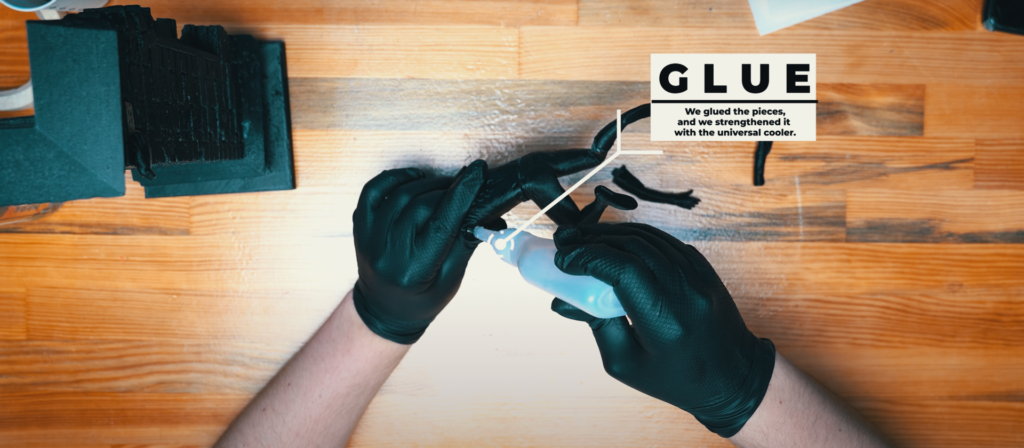
If your print is made out of smaller pieces that you are planning to glue together, this phase can also be included in the post-processing stage. It is important to do this part before painting your print as handling the smaller pieces will be much easier than painting a single giant model. Also, when you glue two parts together there will be a little space between them that will be harder to get into with a paintbrush.
With ABS and HIPS, you can use acetone to make two different parts fuse. Just apply some acetone to each side with a brush and put them together. If you are using another material, superglue will do just fine.
Watch how we do it in this video.

Hand Sanding
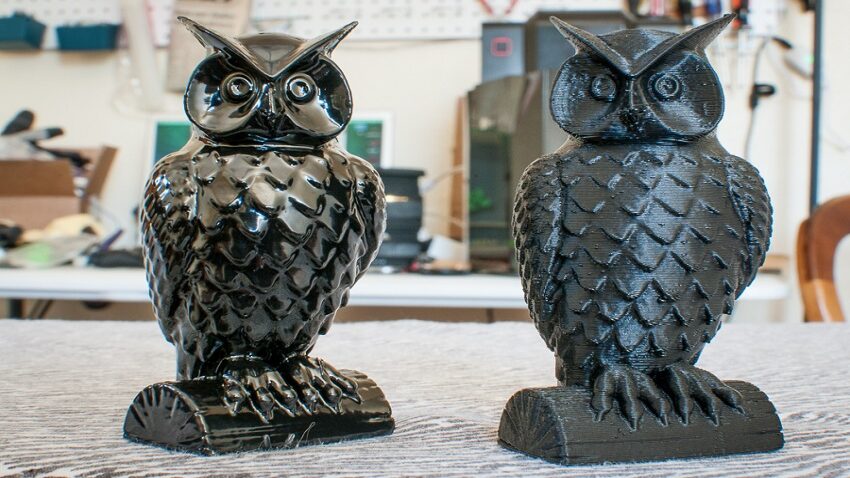
Sanding is a great method for smoothing the surface of your print. When using an FDM 3D printer, your prints will inevitably have horizontal lines on them. These are layer lines. You can make them less noticeable by printing on a higher resolution but there is no way to avoid them in FDM 3D printing. But with the help of hand sanding, you can make them completely disappear.
Sanding papers come in different grits. You can start with an 80 grit paper and see how your print looks, then move up according to your wishes if you want a smoother finish. Make sure to wear a mask as hand sanding will release particulates in the air.
Hand sanding is usually not preferred for models that have a mechanical purpose as the method removes parts of the print and changes its dimensions. But it is a great method for models that are meant to be displayed and end-use products as it makes the surface of the product feel better in your hand.
Polishing
The polishing process will change depending on the filament your model was printed with. Any standard liquid polish that you find on the market will do. You apply your choice of polish to the surface of your print with a brush to achieve a shiny finish.
For ABS, it works differently. If you are going to polish ABS you can use acetone, applying it to the surface of your print with a brush just as you would with polish. The acetone will slowly melt the outer layer of the print and smoothen it out.
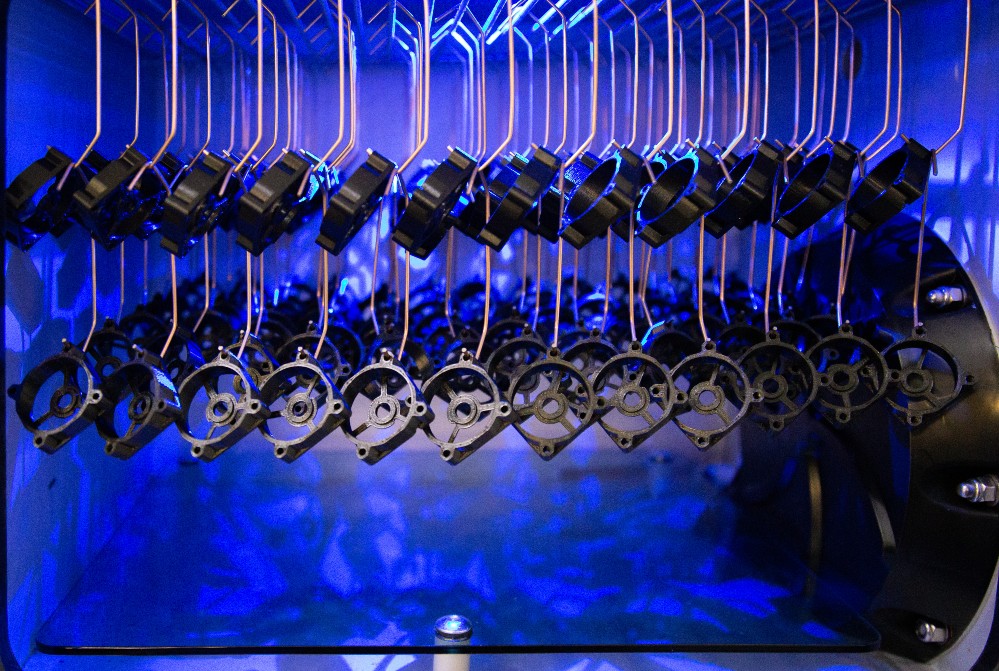
Vapor Smoothing
Also called chemical vapor smoothing is one of the most effective ways of achieving a smooth finish on your 3D prints. This will be a more costly method considering it will require extra equipment but this is the best way if you need to post-process more prints than you can by hand.
In this method, your print will be put in the chamber of a chemical vapor smoothing system and exposed to a melting agent. Just like with the ABS and acetone the melting agent will interact with the out layers of your print and melt it slightly to even the surface out.
That is probably the biggest downside of vapor smoothing. While the melted parts will look smoother and keep most of their dimensional accuracy, you will still lose some details. So, if keeping the surface details is important for you, this might not be the best method.
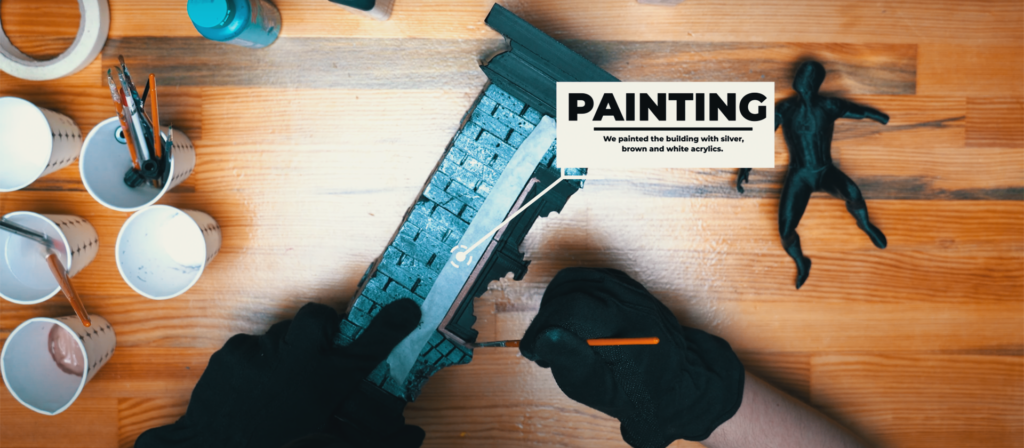
Coating and Painting
The final stage of your post-processing phase will be printing the model. This will be the phase where you add all the colors and details you want to your final product. Firstly, you will need a primer. The primer will serve as the coating for your paint. The grey color will help highlight imperfections so you can use your sanding tools one last time before you start painting. Make sure to apply a thin layer to prevent the loss of any detail.
When it is time to paint, you should choose your paint type and method carefully. You can use a variety of paints on a 3D print like oil paints, enamels, and lacquers but we prefer acrylics as they dry fast and are easy to clean. When it comes to your method of applying the paint, you will have pretty much 3 options. A brush, paint spray, and an airbrush.
The brush is a reliable method. You can apply amazing details with it and manually adjust the coat thickness. It is also the slowest method by far. If you need to paint a lot of models, it would take ages for you to get through all of them.
Paint spray is fast and requires less skill than a brush. You can apply an even coat of paint quickly with little effort with it. But you won’t be able to apply any kind of detail with it.
You can see spraypaint being applied on this video from our YouTube channel.
An airbrush is the perfect mix of both. It is much faster than a brush but you will still have a level of control over the details, unlike a paint spray. It will be up to you how many coats of primer and paint you will apply. Just experiment and see what looks best to you.
For more on painting models: Zaxe | Painting Process in 3D Printing
Then all that is left to do is to wait for the paint to dry and that will be the end of your post-processing phase. Remember that none of the steps that we counted here are essential. Doing them all at once would probably ruin the details of your print. But each individual step on this list will be a good choice for a particular print. It is your choice to decide which one to apply.