
3D Printing overhangs freely without the need for supports is the dream of all FDM 3D printing veterans. Supports are somewhat of a nuisance. They take way too long to print, waste material, and have the potential to ruin the surfaces of your prints. It’s just too much work to take them out of every print and it’s rough on the hands.
That’s why printing steep overhangs is a point of pride for every enthusiast. Generally, 45° is considered to be the industry standard for slopes without supports. But thanks to the advancements in the FDM technology, 3D printers today can do much better than that and there are countless things you can do to improve the angle and quality of your overhangs.
Why You Need Overhangs
While they can be a nuisance, supports are an unfortunate necessity. Without them, we wouldn’t be able to print half the things we can right now and designers would have nightmare-inducing experiences when designing 3D printing models. But they are actually becoming less of a necessity gradually as the technology improves and we discover better ways to print better overhangs.
Being able to print slops sharper than 45° will save you time, money, and hassle. All it takes is a couple of minor tweaks and you can start seeing better results after a few test prints. So users should no doubt take advantage of these opportunities for better 3D printing results.
How to Print Better Overhangs
The quality of your overhangs will depend on the material you are using, your slicer and 3D printer settings, and in some cases, the features that your particular device has. But even with a budget desktop 3D printer, you will see improvements if you follow these tips. Here are a couple of tips on improving 3D printing overhangs.
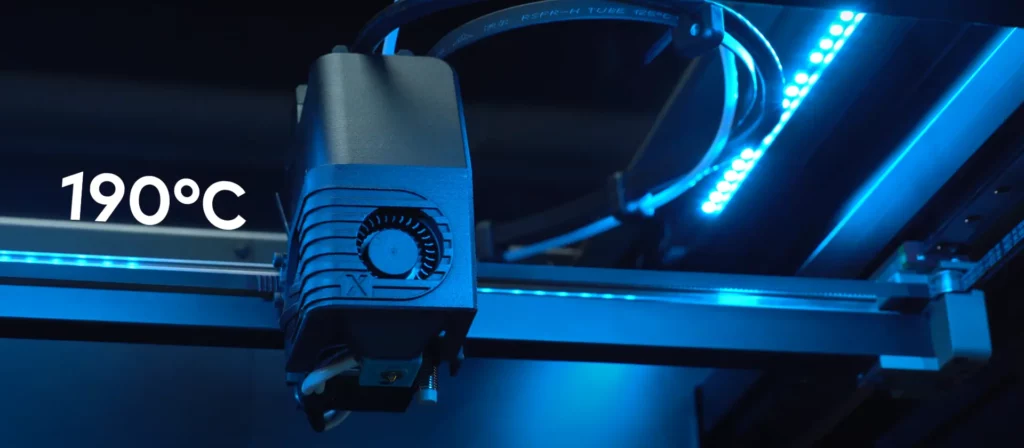
Lower the Extruder Temperature
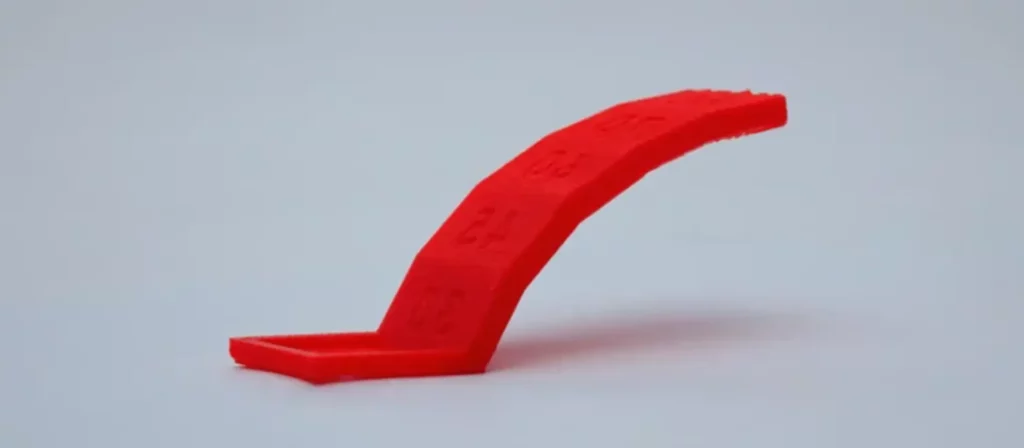
Unless you have a specific reason not to, keeping your extruder at the lowest possible temperature is a good idea to prevent a considerable amount of 3D printing problems and the same thing goes with overhangs. Extruding the filament at a lower temperature will decrease the time needed for the material to cool down and improve your overhangs by allowing the filament to cool down more quickly. Slopes have a tendency to droop and curl when they are too hot, so there is a chance that this little adjustment can improve your overhangs. If you want to test if the overhangs improved or not, you can always try an overhang test model to be certain.
If you are looking to benchmark your print in different ways, check out: 3D Printing on a Budget: How to Cut Costs While Printing
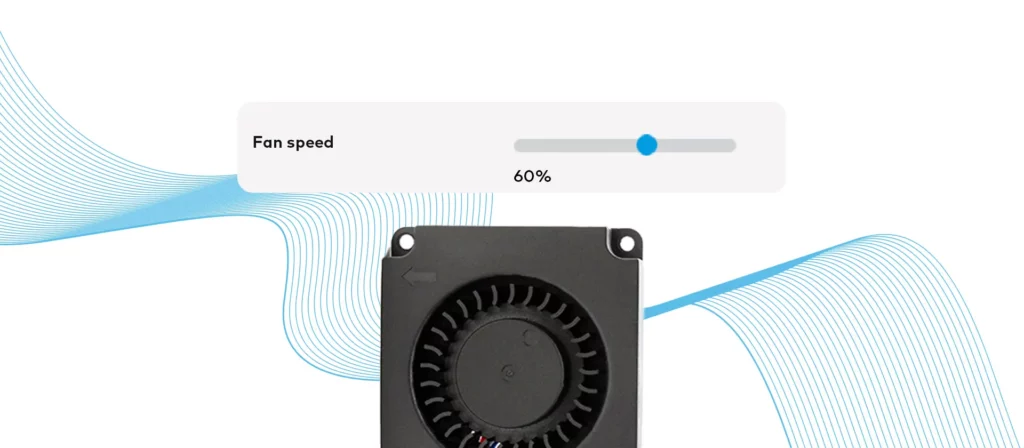
Increase Fan Speed
If your extruder temperature is already low enough and it wouldn’t make sense to decrease it even further, increasing the fan speed can be used for the same effect. The temperature of the extruded filament is not the only factor here. If you manually turn the fan speeds on a little bit, this will make the cooling process for the printed sections much faster. Spending less time while hot will help solidify the material faster which in turn will allow the material to keep its dimensional integrity. Even if this method is useful, we suggest finding a sweet spot for the fan speed as setting it up too high might make the filament cool off too quickly and cause warping for some filaments like ABS.
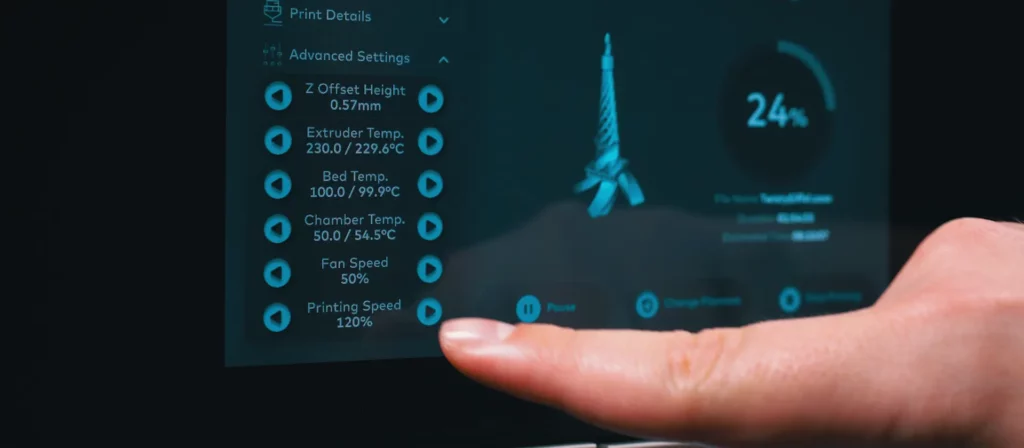
Decrease Printing Speed
Printing slowly is another way of solving various 3D printing problems. It improves printing quality in many ways and it is not hard to guess why. Steppers move much more slowly, you give the layers more time for adhesion and there is less vibration while printing. Decreasing the printing speed can also help you achieve steeper overhangs for the same reason as previous methods while being a less aggressive one. You just give your print more time to cool off on its own instead of actively trying to make it cooler. With a slow print speed, the layer adhesion will be more healthy and therefore effective.
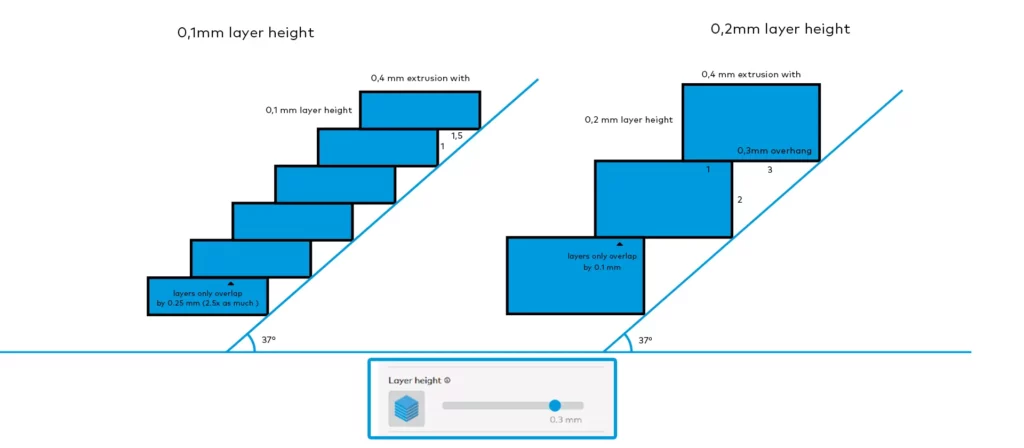
Try a Lower Layer Height
In FDM 3D printing, overhangs are printed by gradually overbrimming the top of your print, layer by layer without printing supports. So it makes sense that making those individual layers thinner would reduce the chances of layers drooping. You give your print a stronger, better-adhered foundation to build on top of by printing with lower layer heights. This will also make the surface underneath the overhang smoother, giving you a better finish on top of steeper slopes. Yes, the print time will go up by a considerable amount, but it is worth it for designs that have aggressive overhangs that you can’t print otherwise.
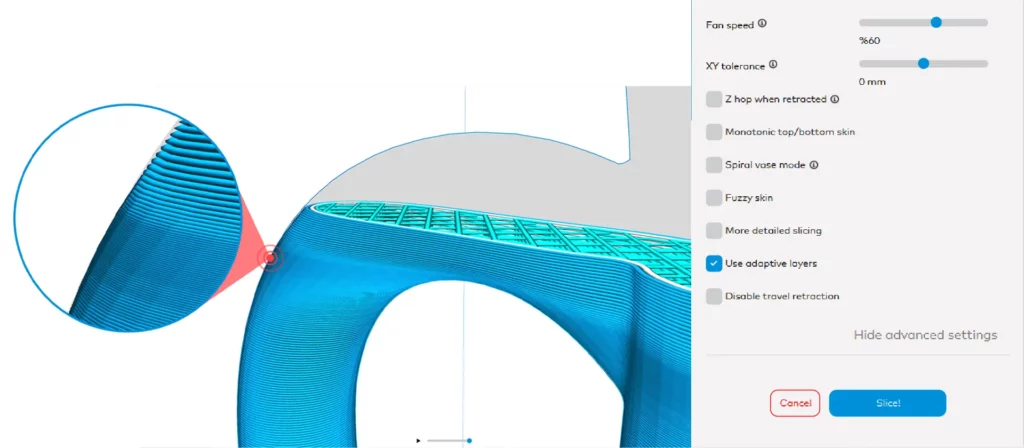
Use Adaptive Layers
Adaptive layers is a fun and relatively new feature to experiment with. It will be available only on some devices and its real-life results are not as amazing as it sounds on paper. But it is still worth trying out if you want better overhangs as it might just help. Much like lowering the layer height entry, adaptive layer feature allows you to achieve better overhangs by overbrimming the top layer ever so slightly and slowly. But the adaptive layer option will come with the benefit of printing the rest of the model, especially flat parts that don’t have any details, much faster. They work similarly but adaptive layers option will save you a lot of time.
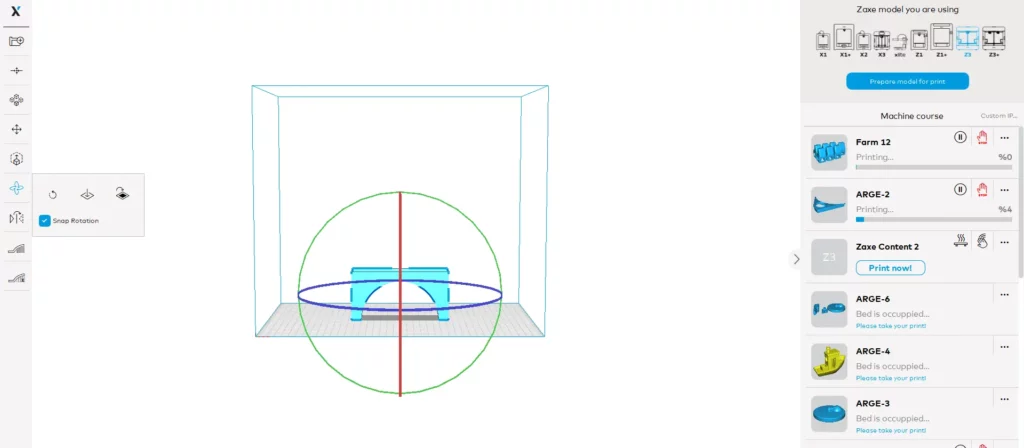
Change Model Orientation
This might sound like a cop-out but is a useful approach nonetheless. If you are still having trouble with your overhangs even after following the previous tips, maybe changing the model orientation is the solution for you. The best way to solve your problems with overhangs is to not need overhangs to begin with. If your model is suitable, you can place the model in such a way that you won’t have any slopes to print. For example, think of a cylinder. Placing it horizontally would force your device to print slopes while printing it vertically would eliminate this issue.
Final Thoughts
The way different devices behave after making these adjustments may vary but trying a combination of these tips on a couple of test prints will help you get on the right track. Overhangs are hard, so don’t feel discouraged if you don’t start getting amazing results right out of the gate. But when you do achieve the overhangs you want, you will start printing faster, better, and spend less material while doing so, which is the dream of every 3D printing enthusiast after all.