
Printing joints can be intimidating for inexperienced 3D printer users. Even for veteran additive manufacturing enthusiasts, there are some articulated designs that can be hard to print perfectly. But with a couple of tweaks and good old-fashioned trial and error, it is possible to print any joints in your designs comfortably.
Here are some tips on how.
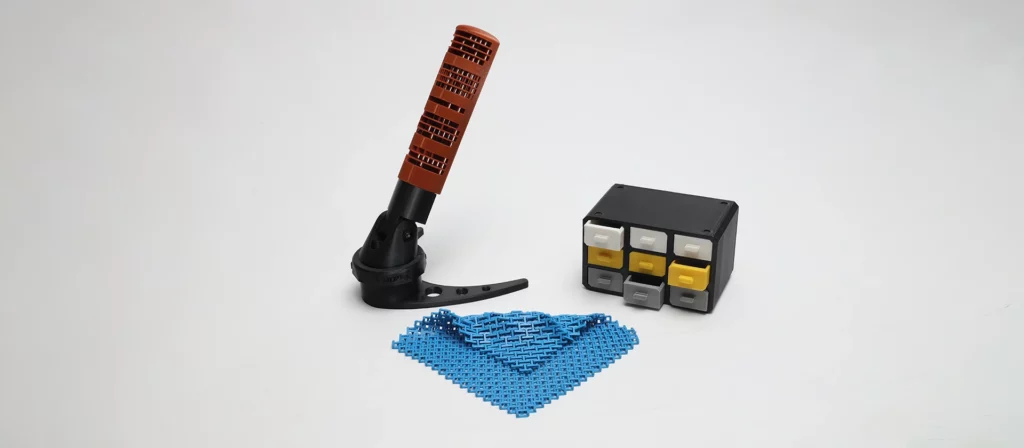
Different Types of Joints
While the word “joint” gets used as an umbrella term, there is obviously more than one type of joint. Articulated parts are broken into sub-categories, depending on how the joint itself gets printed and interlocks with the rest of the print.
Cantilever joints are a type of snap-fit joint that relies on the flexibility of the printed model. They are usually made of two parts. A part that bends a little when pushed towards the socket is supposed to snap in and the part that holds the snapped section. Seatbelts buckles are a good example of cantilever joints.
Annular joints are fairly similar to cantilever joints as they also snap into place thanks to the flexibility of the printed part. But annular joints are circular at the point of connection. They also come with the advantage of being able to move in one direction. A pan and its cap are basically what an annular joint is.
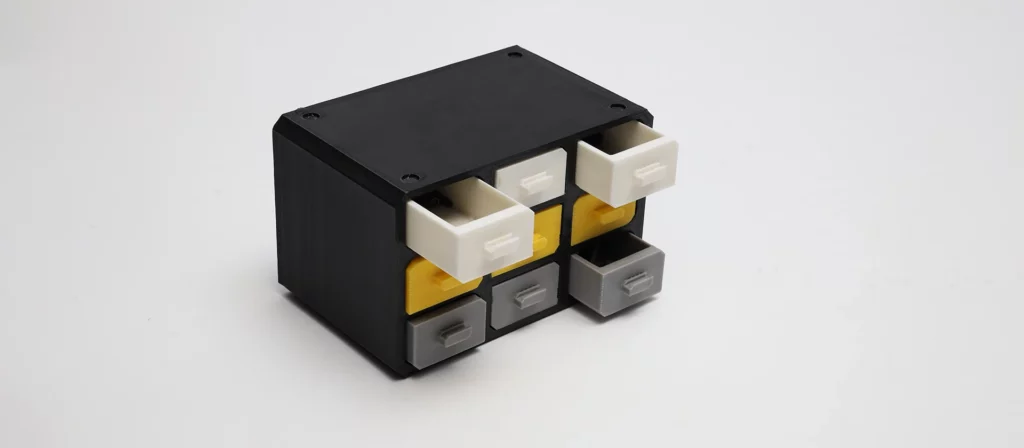
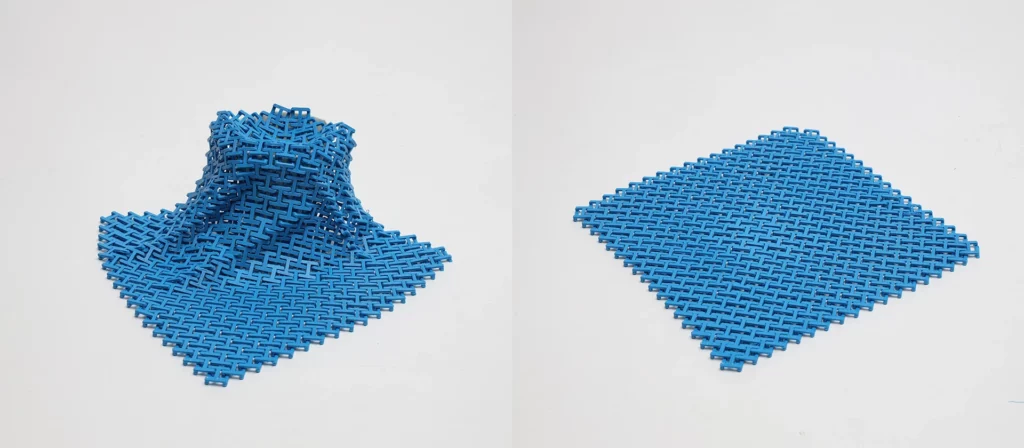
Interlocking parts are some of the most popular articulated prints. Their structure and function are fairly simple, and it is easy to print them perfectly. These parts stay together thanks to the friction between the different sections and can move in one direction, back and forth.
These three are pretty much the most popular ones. There are others but the tips to print them properly apply to most of them the same.
How to Print Joints
And now for some tips. Everything you do when 3D printing an articulated model with joints should be adjusted with the function of the joint in mind. How does the part move, what are the required properties, and what should be done in terms of precision so the part functions perfectly?
Dimensional Accuracy is Crucial
In order for the part to move at the joint with no issues, the print’s dimensional accuracy should be as close to the original design as possible. Common 3D printing problems like warping, shrinking, or layer shifting will likely ruin the function of the part and you will have to print it again. Some of the general rules for getting better dimensional accuracy are;
- Allow the part to cool down slowly to avoid warping,
- Calibrate your device before starting,
- Print slowly to avoid sub-part precision,
- Print with PLA or PET-G if your device doesn’t have an enclosure,
- Print with a fresh spool of filament.
For some more tips on getting better dimensional accuracy, read: How to Achieve Better Dimensional Accuracy in Your 3D Prints
Leave Room for Flexibility
Before printing an articulated part, you should probably plan ahead and make sure that the part is sufficiently flexible. If the print is too stiff, some parts won’t bend enough to interlock or snap together.
To avoid making the part too stiff, try not to print it with an infill density of higher than 75%. This will ensure a proper level of flexibility without making the part too stiff. You can also use an infill pattern such as gyroid to add to the flexibility.
Still don’t forget that flexibility is a double-edged sword when it comes to printing interlocking or snap-fit parts. If the part is too flexible it will have trouble staying in the place it is supposed to and will come out with little force.
Ensure Joint Strength with Orientation
As most of us know, one of the most obvious shortcomings of FDM 3D printing is the layer lines. Even if you get perfect layer adhesion in every single print, these lines will be the weakest part of any given print and will be the likely breaking point.
To stop your joints from breaking easily, we advise adjusting the orientation of the model before starting to print. The joints should point parallel to the layer lines if you want to add longevity to the part.
Compensate for Scaling
Let’s say you find the perfect articulated model but the original size of the model is a little too big or small for your liking. Scaling the model on the slicer would likely be the first solution that comes to your mind. If you try this, there is a good chance that the printed part won’t function properly and different parts won’t fit together. This is because the tolerance and clearance stay the same even if the scaling is changed.
A clearance of 0.2 mm-0.6 mm is recommended for all prints with 0.3mm being accepted as the gold standard. So it is advised that you rearrange the model on CAD software before starting to print process and set the clearance somewhere between this range.
Conclusion
As you can see, there is nothing to be intimidated by. Dimensional accuracy, flexibility, and clearance are the only things you need to worry about. As long as you get the tolerances right and do the orientation correctly, your articulated parts will be perfectly fine. If you don’t get good results the first time, trial and error will improve your results in time.